Simple DIY Plaster Casting
Dieser Artikel ist derzeit nur auf Chinesisch und Englisch verfügbar. Nachfolgend die englische Fassung.
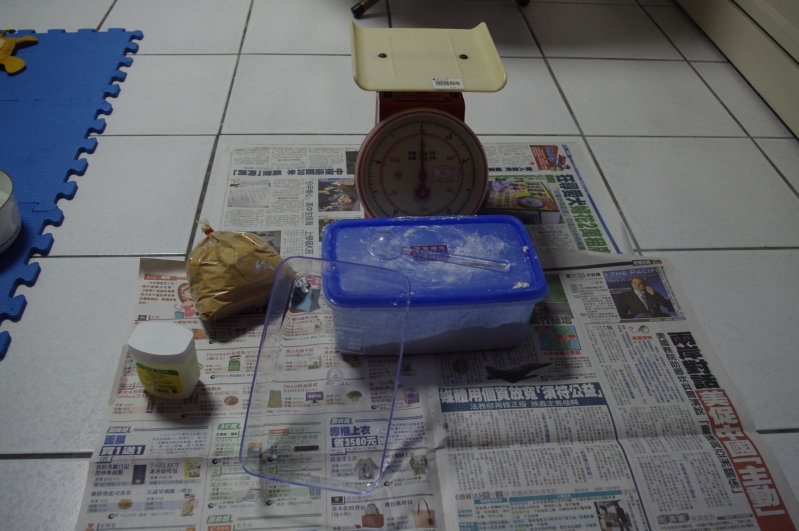
※ This post gives precise ratios for plaster, water and loess (yellow earth). The loess is optional; it just adds a bit of colour and texture. (※ Note that loess reduces the hardness of the plaster.)
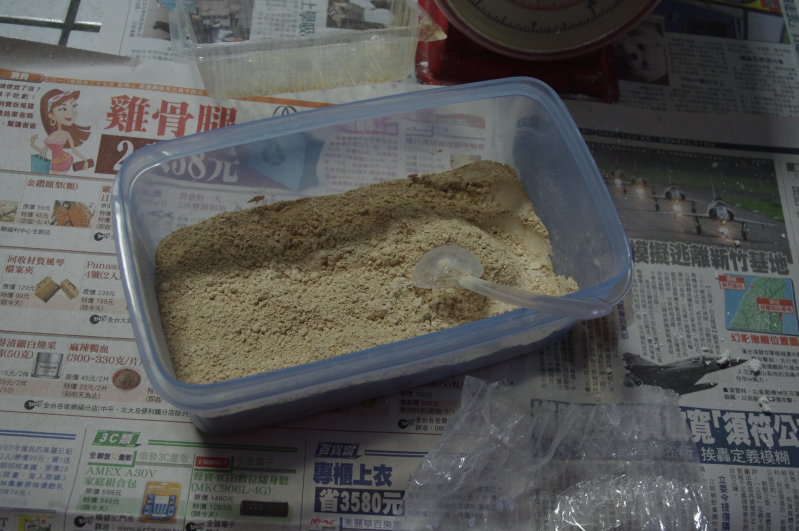
The mould is a plastic box, plus a scale (for weighing), plaster powder and loess.
This time I specifically experimented with loess to see roughly what ratio works best.
I first measured the size I needed: about 400 g of water.
Then I measured out the plaster powder and loess.
I started with 300 g plaster + 100 g loess (3:1, but my later testing showed it should be 4:1, about 400 g plaster + 100 g loess).
So the overall ratio is 400 g water + 400 g plaster powder + 100 g loess, i.e. water to plaster of roughly 1:1.25.
Once that is ready, mix it all evenly.
If you want it to release from the mould more easily, get out the Vaseline and coat the mould!
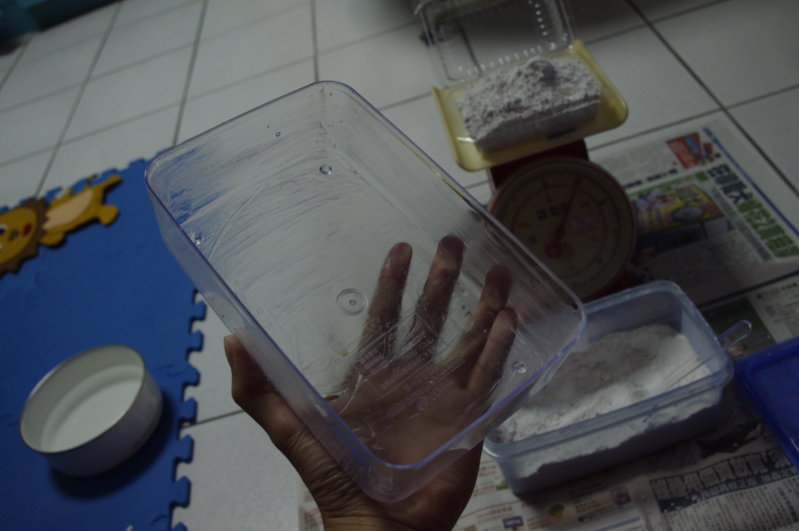
Now you can begin!
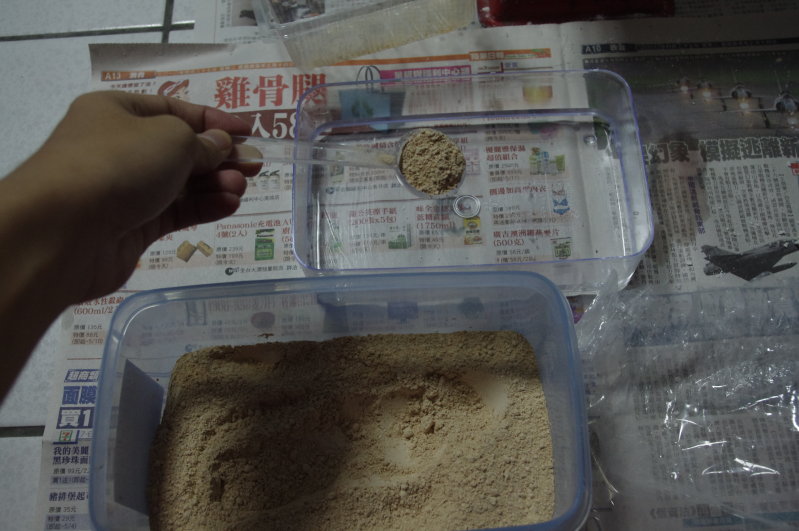
My method is to mix inside the mould rather than mixing first and then pouring into the mould.
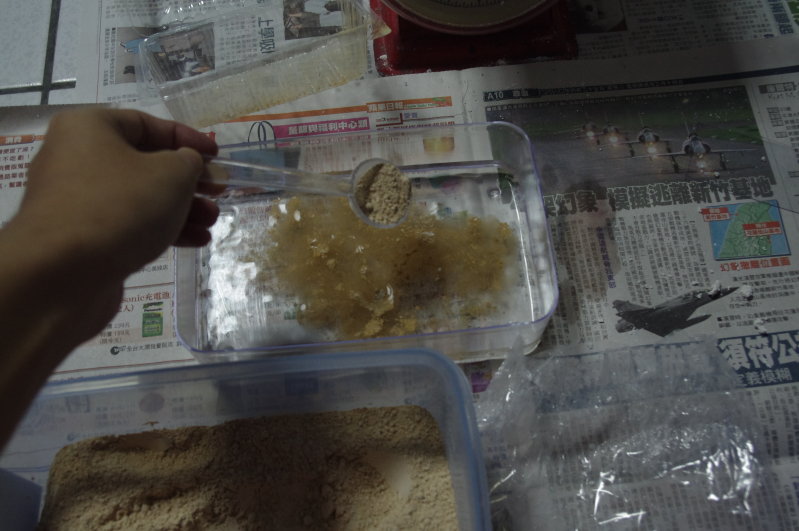
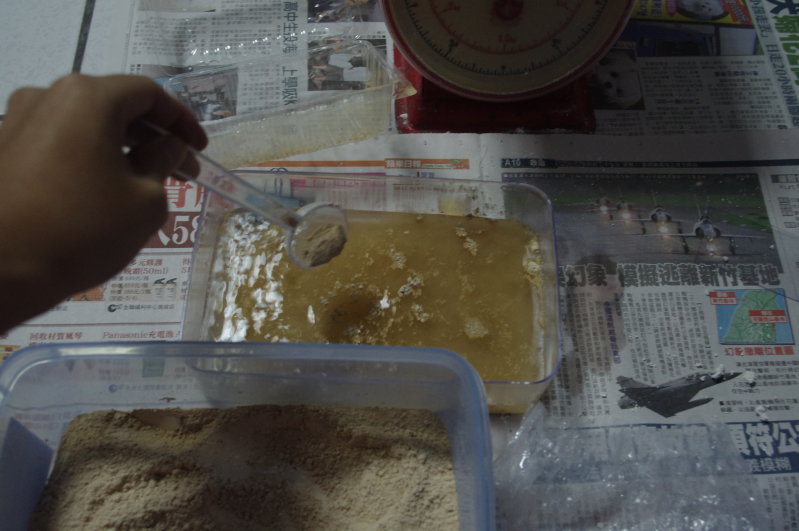
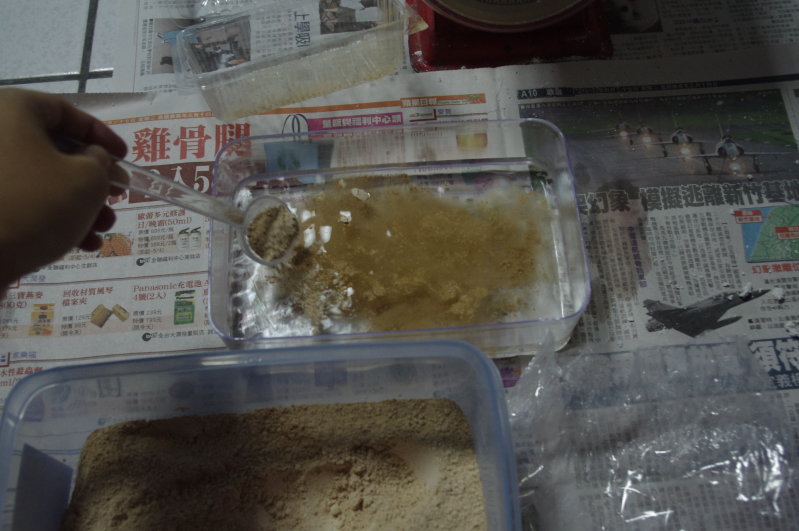
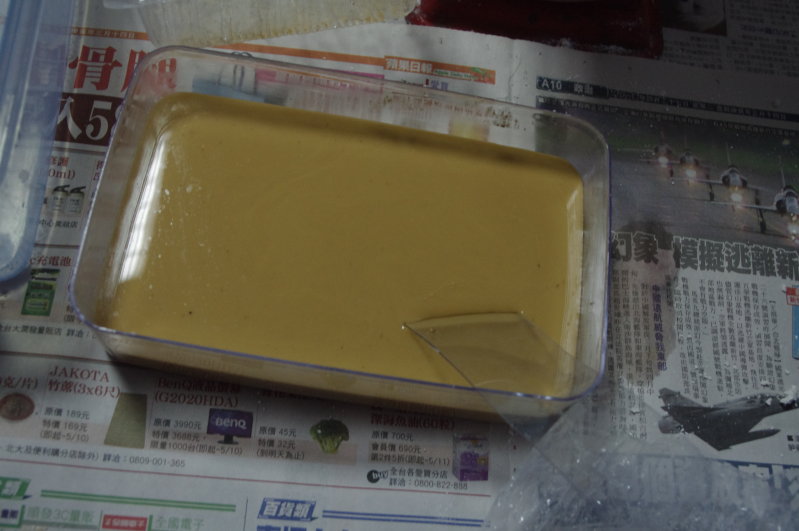
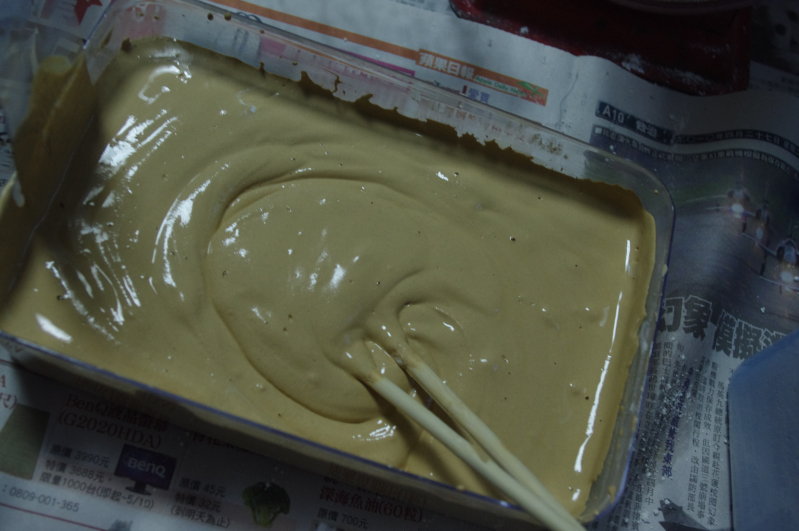
When it starts getting thicker and pastier, you are on the right track! It feels a bit like rice milk or peanut butter…
If it is still very watery after stirring for a while, keep sprinkling in plaster powder as described above until it reaches the state shown here.
Finally, lift the box and let it drop gently onto the surface to shake out excess air.
Otherwise the bubbles will form voids inside later, which is very bad!
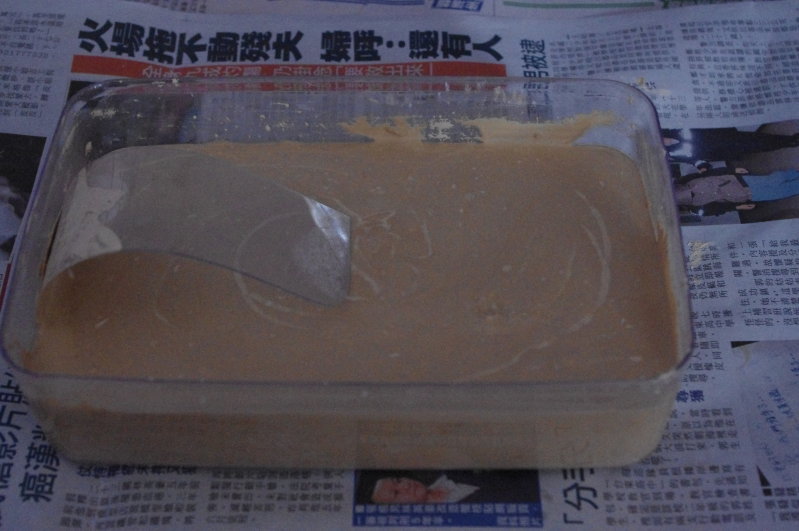
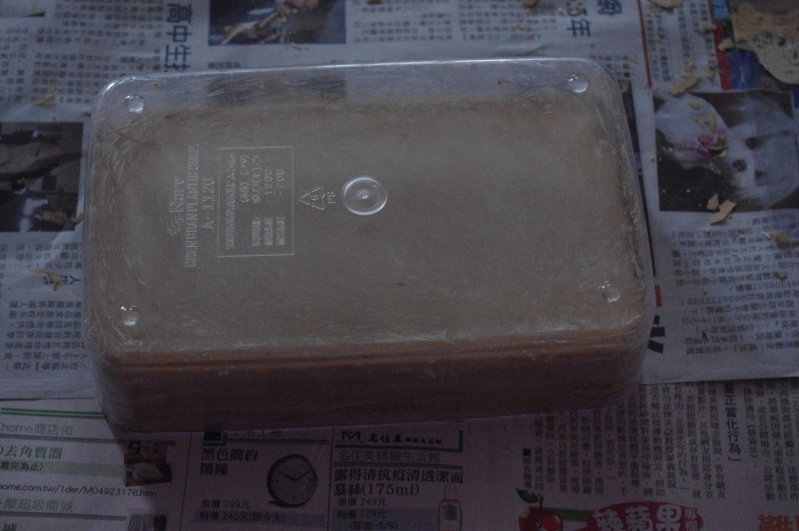
This is what it looks like once set.
Time to demould! Very smooth and easy.
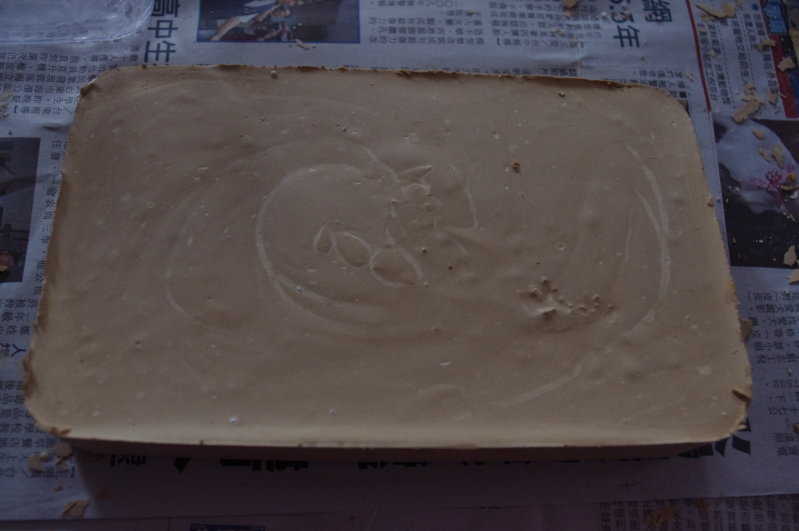
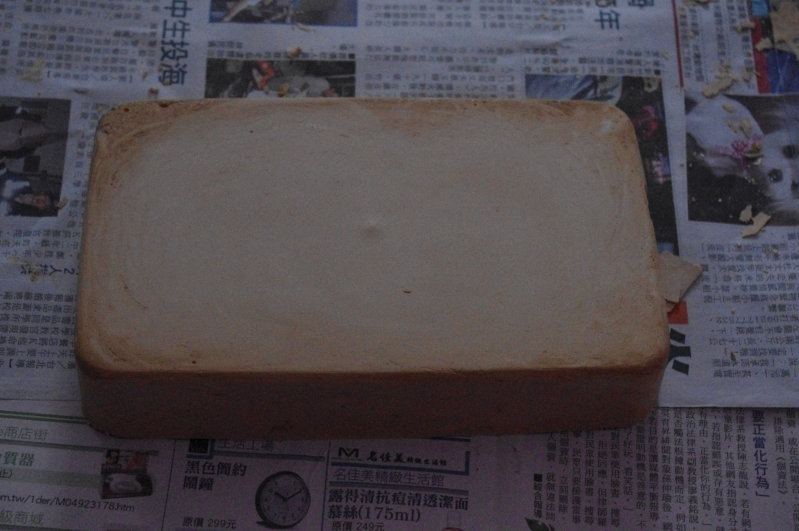
Doesn’t it look like a pineapple cake…?
To sum up:
Many beginners run into all sorts of problems with plaster casting.
First, however large you want the plaster to be, add water equal to about 80% of that volume, because the plaster increases the volume as it dissolves in.
Second, the basic method of adding plaster is to sprinkle it in slowly with a scoop or by hand, not dump it all in at once, letting it settle gradually. The basic rule is to keep adding until the settled plaster just reaches the water surface.
Third, only start stirring once the settled plaster reaches the water surface. Be careful not to stir too hard, or air bubbles will get in, and when it hardens those bubbles will burst and leave hollow spherical voids. While stirring, if you want the plaster even harder, keep sprinkling in more. The more you add, the harder it is to dissolve and set, the harder the result, and the poorer its water absorption; the softer it is, the better it absorbs water.
Fourth, once you are sure it is well sprinkled and evenly mixed, pour it into the mould (or you can mix the plaster directly in the mould), then tap the container lightly. If the container is small and not easily damaged, you can also lift it and drop it. The main purpose is to let the air bubbles escape.
Fifth, skim off the bubbles on the surface, and then all you have to do is wait for it to set!
※ You are welcome to repost, but please credit the source!